8 Essential Steps to Take After Installing OPNsense - Your Ultimate Firewall Setup Guide!
2025-04-07
Author: Yu
1. Ensure All Systems are Functional
Once you connect OPNsense to your Internet Service Provider (ISP), it’s vital to run some preliminary tests. This not only confirms your connection to external servers but also checks the performance of the hardware on which OPNsense is installed. Confirm that your hardware can handle your networking demands without overheating or throttling, as even a modest load can strain the CPU over time.
2. Keep OPNsense Updated
Regularly updating OPNsense is critical for maintaining security and access to new features. Always ensure you’re running the latest version available. The update process is simple—just click a button, and it handles everything automatically. Make checking for updates a weekly habit, as this practice ensures your firewall remains equipped to deal with the evolving digital threats.
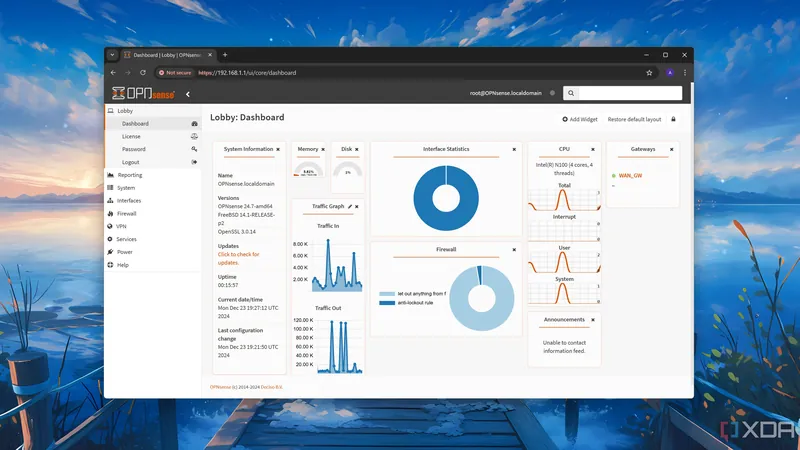
3. Change the Default LAN IP Address
By default, OPNsense uses 192.168.1.1, which is commonly found in many routers. Changing this default IP address helps avoid conflicts, especially if you use a VPN for remote access. Choose a unique IP that you can easily remember, but keep in mind that you will need to update any static configurations accordingly.
4. Establish a Static IP Range for Your Devices
Assigning static IP addresses on OPNsense instead of the clients can help prevent conflicts and enhance network stability. The DHCP server allows you to reserve a block of IP addresses for specific devices. This can be particularly useful for your permanent network hardware and services. For instance, designate a range like 1.1.1.10 to 1.1.1.30 for these devices to ensure they receive the same IP addresses consistently.
5. Blacklist Malicious Domains
Using the Unbound DNS resolver, OPNsense allows you to block known dangerous domains, protecting your network from phishing and other cyber threats. Leverage lists such as OSID to filter out domains associated with malware and unwanted advertisements, adding an essential layer of security to your LAN.
6. Create Virtual LANs (VLANs)
To optimize your LAN’s organization, consider implementing VLANs. This virtual segmentation allows you to manage different network types—like guest networks or IoT devices—without needing additional physical hardware. VLANs can improve network performance and enhance security by isolating traffic.
7. Set Up a LAN-Wide VPN
Integrate a Virtual Private Network (VPN) into your OPNsense setup to secure all your internet traffic. This blanket protection not only safeguards your data from prying eyes but also circumvents geo-restrictions on content. Additionally, OPNsense allows you to selectively exempt certain devices from the VPN, which can be advantageous for gaming or accessing particular services that may have issues over VPN.
8. Ensure Regular Configuration Backups
After meticulously setting up OPNsense, always back up your configuration files. This practice is vital as it allows you to restore your settings if complications arise. During experimentation or updates, having a backup means you can revert any changes that lead to network issues, saving you time and effort in troubleshooting.
Understanding Your Network Infrastructure
Setting up OPNsense isn’t merely about installing a firewall—it's an opportunity to gain insight into your network's operation. As you configure and troubleshoot, you'll deepen your technological understanding, enhancing not just your computer networking skills but also your overall cybersecurity awareness. Unlike standard ISP routers, which often lack customization options and privacy considerations, OPNsense empowers you to control your network independently, particularly when combined with a VPN to shield your privacy.
Taking these steps will not only strengthen your OPNsense firewall but also elevate your entire networking experience. Ready to take control of your digital domain? Dive into OPNsense today and unlock a new level of network expertise!

 Brasil (PT)
 Canada (EN)
 Chile (ES)
 Česko (CS)
 대한민국 (KO)
 España (ES)
 France (FR)
 Hong Kong (EN)
 Italia (IT)
 日本 (JA)
 Magyarország (HU)
 Norge (NO)
 Polska (PL)
 Schweiz (DE)
 Singapore (EN)
 Sverige (SV)
 Suomi (FI)
 Türkiye (TR)
 الإمارات العربية المتحدة (AR)