Conquer Hunter's March: Your Ultimate Guide to Hollow Knight: Silksong's Challenging Area!
2025-09-07
Author: Ying
Struggling in Hunter's March?
If you’re finding your way through the treacherous terrain of Hunter's March in Hollow Knight: Silksong, you’re not alone! This section is notorious for its perilous spikes and vicious ant foes. It’s crucial that you master Pogo-ing off enemies and surfaces; now’s the time to sharpen that skill!
Step-by-Step Walkthrough to Master Hunter’s March
In this guide, we’ll navigate the most efficient route through Hunter's March, starting with the fearsome ant guardian at Marrow and culminating in one of the toughest bosses nestled deep within the Chapel Of The Beast. Ready? Let’s dive in!
Key Steps to Navigate Hunter's March
1. Travel to the Marrow via the Bellway
Begin your journey by fast traveling to the Marrow. Once there, move to the right until you encounter a shorter shaft with a ladder.
2. Take Down Skarrgard, the Giant Ant Miniboss
Descend to the ground where the ladder ends. A path to the right leads to Hunter's March—a domain ruled by formidable ant creatures. Before venturing forth, drop into the prison where you freed Grindle and rest at the Bench for a quick return path.
When you’re prepared, head to the right to face Skarrgard. This miniboss is aggressive and hits hard. The winning strategy? Stay close! Dodge backward or beneath his attacks and strike when you can.
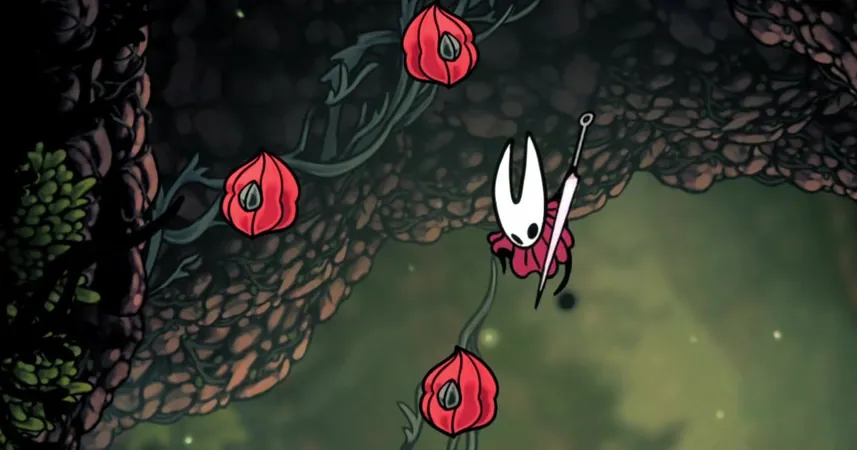
3. Ascend and Rescue the Captive Flea
Continue along the path, pogoing up the red plants until you reach a fork. Go left and evade flying ants to find a Flea in a cage. Free it to send it back to its caravan.
4. Reach Shakra’s Gauntlet!
Head East to enter a gauntlet arena where waves of ant enemies await. Fortunately, Shakra, the map-maker, joins you. Survive the onslaught and then buy the Hunter's March map for 70 Rosaries.
5. Locate the Next Bench and Disarm the Trap
Progress to the right into a spike-filled area. Attack the webs for Silk, then navigate carefully to avoid pressure plates that trigger swinging axes. Climb the air current to find a Bench—but beware, it’s trapped! Disarm it first before resting.
6. Meet Gilly by the Dancing Statue
In the room with the wind current, enter the right door. There, you’ll encounter Gilly beside a dancer statue—chat and then return to the previous room.
7. Uncover Mottled Scarr in the Secret Passage
Ride the air current higher and find a small room filled with Shell Shards. Look for a hidden passage behind some shrubbery. Navigate through parkour challenges until you meet Mottled Scarr, who sells unique items.
8. Unlock the Deep Docks Shortcut
Exit through the left-hand path and pull a lever that opens a shortcut back to Deep Docks. However, you’re not finished yet—return and continue exploring!
9. Enter the Mysterious Chapel Of The Beast
Next, pogo past spikes and avoid pressure plates. You’ll find you’re staring at the ominous Chapel Of The Beast—the scene of your next thrilling challenge!
10. Face the Savage Beastfly!
Brace yourself for one of the hardest early-game battles with the Savage Beastfly. Its attacks are lethal, requiring quick reflexes and strategy. Employ the Wanderer Crest for rapid hits, and dodge deftly during its aggressive combos.
In its second phase, it unleashes minions; bait the Beastfly into finishing those for a smoother fight.
Upon defeating it, don’t forget to claim your reward: the powerful Beast Crest, unlocking a fierce new attack for Hornet!
Get ready to master the Pogo attack using your newly acquired abilities!


 Brasil (PT)
 Canada (EN)
 Chile (ES)
 Česko (CS)
 대한민국 (KO)
 España (ES)
 France (FR)
 Hong Kong (EN)
 Italia (IT)
 日本 (JA)
 Magyarország (HU)
 Norge (NO)
 Polska (PL)
 Schweiz (DE)
 Singapore (EN)
 Sverige (SV)
 Suomi (FI)
 Türkiye (TR)
 الإمارات العربية المتحدة (AR)