Unlocking 4K: How I Revived My Old Blu-ray Drive with One Simple Tweak!
2025-08-05
Author: Amelia
In an era where digital reigns supreme, I find myself clinging to physical media. While I enjoy the convenience of digital libraries and streaming services, there’s a certain security in knowing I own a movie or show outright—especially in a world where access can be fleeting.
But let’s face it: Blu-ray discs can be a hassle. They restrict my viewing to one location, and they aren’t exactly travel-friendly—especially when I want to enjoy a flick on a plane or train. So, I decided it was time to digitize my cherished collection, allowing my family and me to watch our favorites anywhere.
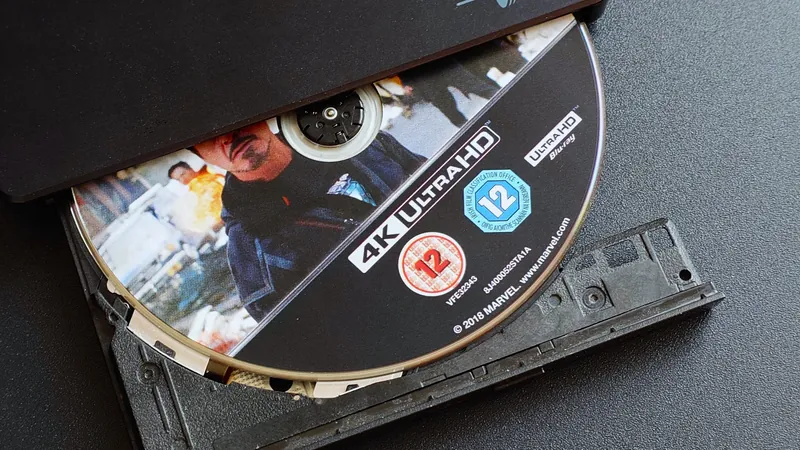
Lately, I’ve splurged on a new stash of 4K UHD Blu-rays, but to my dismay, my trusty external drive was only equipped for regular 1080p discs. Or so I thought! After stumbling across an enlightening YouTube video, I discovered a magical solution: LibreDrive.
At first, I wasn’t optimistic, but after some research, I learned that by tweaking the firmware on my Blu-ray drive, I could bypass restrictions and access the data directly from 4K discs. It turned out I didn’t need a new drive after all, and you can bet I was thrilled!
### What is LibreDrive?
So what is this elusive LibreDrive? In simple terms, it enables direct access to a disc’s data, stripping away firmware limitations. Not all drives are compatible—this is where diligence is key!
My cue came from MakeMKV, the go-to software for digitizing discs. It confirmed that my drive was capable of LibreDrive—just not yet enabled. I dove into the MakeMKV forums, found the necessary firmware, and followed clear instructions laid out by the community. Although I approached the process with a healthy dose of skepticism, it worked like a charm!
### Digitizing in Style
Now, let's talk workflow. To start, you need to grab MakeMKV, which has been in beta forever but offers a generous evaluation month. When you load a Blu-ray, it showcases all content available, so you can selectively rip the main feature without the extras.
From there, I hit 'MakeMKV' and sit back with a drink—ripping can take anywhere from a few minutes to an hour depending on the file size and drive speed.
What you get is the raw video—huge files that aren’t necessarily practical for on-the-go viewing or streaming. This is where Handbrake enters the picture.
### Transforming Video Files with Handbrake
With Handbrake, I can transcode these massive files into more manageable formats. I prefer the 10-bit h.265 NVENC option, utilizing my RTX 5080 GPU to balance quality and speed.
Unlike MakeMKV, Handbrake allows batch processing, so I can line up multiple files for transcoding—saving time and keeping me focused on one task.
### Where Will I Store My Collection?
Now, here’s where I hit a snag: storage. My current setup sees all my new files accumulating on a secondary SSD, but I’m eyeing a NAS with 4TB in RAID for a more permanent solution.
Once I finalize my storage strategy, it’s time to dive back into the media center world, either with Plex or Jellyfin. While I hold a lifetime Plex Pass, Jellyfin’s buzz is tempting to explore.
For now, I’m just over the moon that my old Blu-ray drive can tackle 4K discs without a pricey upgrade! Who knew some firmware magic could breathe new life into my collection?


 Brasil (PT)
 Canada (EN)
 Chile (ES)
 Česko (CS)
 대한민국 (KO)
 España (ES)
 France (FR)
 Hong Kong (EN)
 Italia (IT)
 日本 (JA)
 Magyarország (HU)
 Norge (NO)
 Polska (PL)
 Schweiz (DE)
 Singapore (EN)
 Sverige (SV)
 Suomi (FI)
 Türkiye (TR)
 الإمارات العربية المتحدة (AR)