Unlock Remote Access to Your Self-Hosted Services with Tailscale: A Comprehensive Guide
2025-03-24
Author: Liam
Unlock Remote Access to Your Self-Hosted Services with Tailscale: A Comprehensive Guide
Are you tired of monthly subscription fees and privacy compromises that come with traditional apps? Creating a self-hosted workstation is the perfect solution! But there’s a catch: accessing your favorite self-hosted services over the internet isn’t as straightforward as it seems. The complexities of firewall rules, DMZ configurations, and network port forwarding often overwhelm users. If your home network suffers from Carrier-Grade NAT (CGNAT), those challenges multiply!
Luckily, Tailscale steps in as a user-friendly solution, allowing you to securely access your home server from virtually anywhere—without the headaches of manual configurations. While you may still rely on Tailscale’s infrastructure to manage connections, it simplifies the exposure of your local services to external networks. Here’s how you can set it up to easily access your self-hosted applications on the go!
Setting Up Tailscale on Your Home Server
Start by deploying Tailscale on the device you want remote access to. Linux is a popular choice for self-hosting, but Tailscale supports various operating systems. Here’s how to install and configure Tailscale on your server:
1. **Open Terminal:** Start the terminal application specific to your OS.
2. **Install Curl (If Necessary):** If your Linux distribution doesn’t come with the curl command, install it: ```bash sudo apt install curl -y ```
3. **Install Tailscale:** Download and install Tailscale using the following command: ```bash curl -fsSL https://tailscale.com/install.sh | sh ```
4. **Initialize Tailscale:** Start Tailscale by running: ```bash sudo tailscale up ```
5. **Login:** Use the link generated in the terminal to access Tailscale’s login page and authenticate your account—create one if you haven’t already!
Installing Tailscale on Your Daily Driver
Next, you need to set up Tailscale on the device from which you’ll access your services, which could be a Windows, macOS, or even a mobile device:
1. **Download Tailscale:** Go to the Tailscale official website and download the appropriate setup file for your operating system.
2. **Install the Application:** Follow the prompts to install Tailscale.
3. **Get Started:** Open the app, click “Get Started,” and then “Sign in to your network” to access Tailscale’s web interface again.
4. **Login:** Authenticate yourself in the Tailscale app.
Connecting to Your Remote Server
After setting Tailscale on both the server and client, you’re ready to access your services remotely. Here’s how to do it:
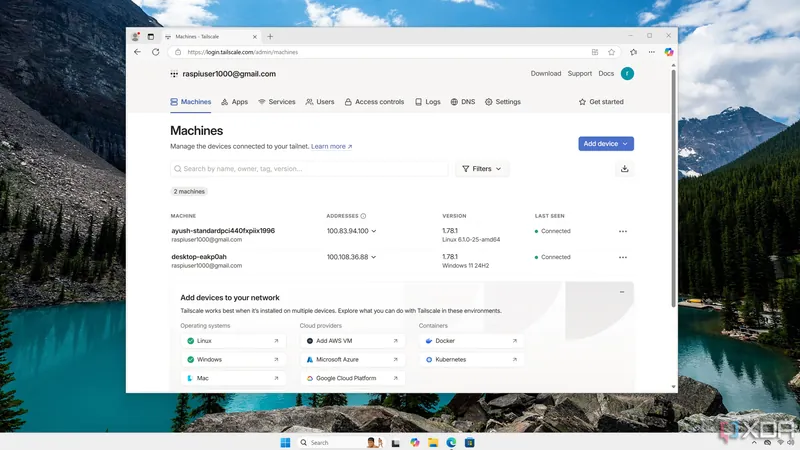
1. **Check Connectivity:** Confirm that both server and client show as "Connected" on the Tailscale Dashboard.
2. **Access Services:** In your web browser, type the server’s IP address followed by a colon and the port number of the service you wish to access. For example: ``` 100.x.x.x:8080 ```
Transform Your Self-Hosted Workstation into a Remote Hub
If you followed the steps correctly, you could see your self-hosted services come to life from any external network. For those who have SSH enabled, you can also use it for command-line remote management. Fancy GUIs? You can leverage remote desktop protocols like VNC or RDP along with Tailscale to seamlessly manage your system.
Bonus Tips:
- **Security:** Make sure to enable robust security measures for your server, ensuring only authorized users can access sensitive data.
- **Explore Integrations:** Tailscale offers a wealth of integrations with other tools and protocols, enhancing your self-hosted capabilities.
- **Community Support:** Joining forums dedicated to Tailscale or self-hosting can provide additional resources and troubleshooting help.
Now you’re all set to embark on your remote access journey with Tailscale. Embrace the freedom of managing your self-hosted workstation from anywhere in the world!


 Brasil (PT)
 Canada (EN)
 Chile (ES)
 Česko (CS)
 대한민국 (KO)
 España (ES)
 France (FR)
 Hong Kong (EN)
 Italia (IT)
 日本 (JA)
 Magyarország (HU)
 Norge (NO)
 Polska (PL)
 Schweiz (DE)
 Singapore (EN)
 Sverige (SV)
 Suomi (FI)
 Türkiye (TR)
 الإمارات العربية المتحدة (AR)